Get all SharePoint Sites including Subsites
Getting all the SharePoint site collections is pretty easy. You can just open up the SharePoint Online Admin Center and export them, but SharePoint isn't so flat.
There can be hundreds if not thousands of sub sites within your organization. And those aren't so easy to get.
 If you don't want the back story jump to the "Here's a quick overview of all the steps you need to do:" section. If you want more information on SharePoint hierarchy or more background information including security tips skip down to bottom of this webpage.
I recently received an interesting request. Someone asked for all the SharePoint sites in their organization. I explained they could just open up the SharePoint Online Admin Center and export the sites from there, but they requested using PowerShell. So, I sent them how to export the SharePoint site collections using the SharePoint Online PowerShell module. But then they mentioned something that I didn't even realize. An organization can have hundreds, if not thousands of SharePoint Online sites that you can’t get through the SharePoint Online admin center or the SharePoint Online PowerShell module. SharePoint Online Admin Center or and the SharePoint Online PowerShell module only export the site collections. It doesn't get the subsites. So, then I tried to use Connect-MgGraph But I kept running into weird errors. The errors might have been caused because we have the Microsoft 365 tenants locked down strictly but I’m not 100% sure why it wasn’t working. If you can do this with MG Graph shoot me an email or message me on social media with the PowerShell code please. Anyways, I opened copilot. And it recommended using PNP.
PNP isn't something I've used in quite a while, but it is something I've used before, so I thought that sounded great. Then I ran into 5 issues. Yes, 5 issues. It fought me every step of the way. *sigh*
First, Installing PNP Wasn’t as easy as it used to be. You need one of the latest versions of PowerShell which I didn’t have. Fortunately, PowerShell is extremely easy to update thanks to the Microsoft Store. Of course, when I re-opened PowerShell it wasn’t on the latest version. It doesn't update PowerShell 5 to PowerShell 7. It installs PowerShell 7 side by side next to the old version of PowerShell. So, if you're used to PowerShell being blue, it’s now black and white. But my troubles didn't end there.
Then I needed to install the PNP module. I thought that would be straightforward because I've installed a dozen PowerShell modules in the past year alone but of course it wasn't. I installed the PNP module and then when I tried to run the command to register PNP as an application in our Microsoft 365 environment I received an error that the cmdlets didn't exist. I looked up in the PNP documentation and of course I needed to use the nightly build. After that I uninstalled the current PNP module and installed the nightly build. Don’t worry, the documentation below will have you download the correct version right away.
Next, authenticating to Microsoft 365 using PNP was not straightforward. You need to register an application in Microsoft Entra admin center first. Since I ran into issues with the PNP module not having the cmdlet that I needed I attempted to do this manually, but I failed miserably. PNP does have it documented on how to create the application and I probably just missed a step. Fortunately, I was able to get the cmdlet Working using the nightly build, so you won't need to worry about that.
After I got through all of that connecting PNP to my Microsoft 365 tenant was pretty easy. You simply need the client ID, which PNP will give you in the previous step, then you just need to log in. The challenges didn't end there, though.
Next. I had to get all the subsites. At this point you would think it was just a simple command, but you'd be wrong. You must connect to each SharePoint Online site collection and then request the sites. This wouldn't have been too challenging if PNP would simply send your authentication to the next SharePoint site collection you wanted to connect to, but it doesn't. And I wasn't about to spend the next 15 minutes re-authenticating manually to over 100 site collections. Like any good engineer I spent 30 minutes figuring out how to automate this 15-minute process. Essentially, you can ask PNP for the access token that was created when you connected PNP to your Microsoft 365 environment. Then when you connect to the next site collection you can simply pass that access token. It will use that access token to authenticate to the next SharePoint Online site collection for you.
After all of that. I was finally able to get all the sites including the site collections and subsites!
You can't get them from the SharePoint Online Admin Center. You can't get them from the SharePoint Online PowerShell. You have to use the PNP module Which isn't easy to set up.
There are a few steps you need to go through to get the PMP module working on your computer as well as on your SharePoint Online tenant.
Here's a quick overview of all the steps you need to do:
- Get PowerShell 7.4.
- Install the PNP module on your computer.
- Register. An application in your ENTRA admin center.
- Connect. You are. PowerShell window. To SharePoint Online.
- Now you can run your code.
Installing and running the latest PowerShell 7.X
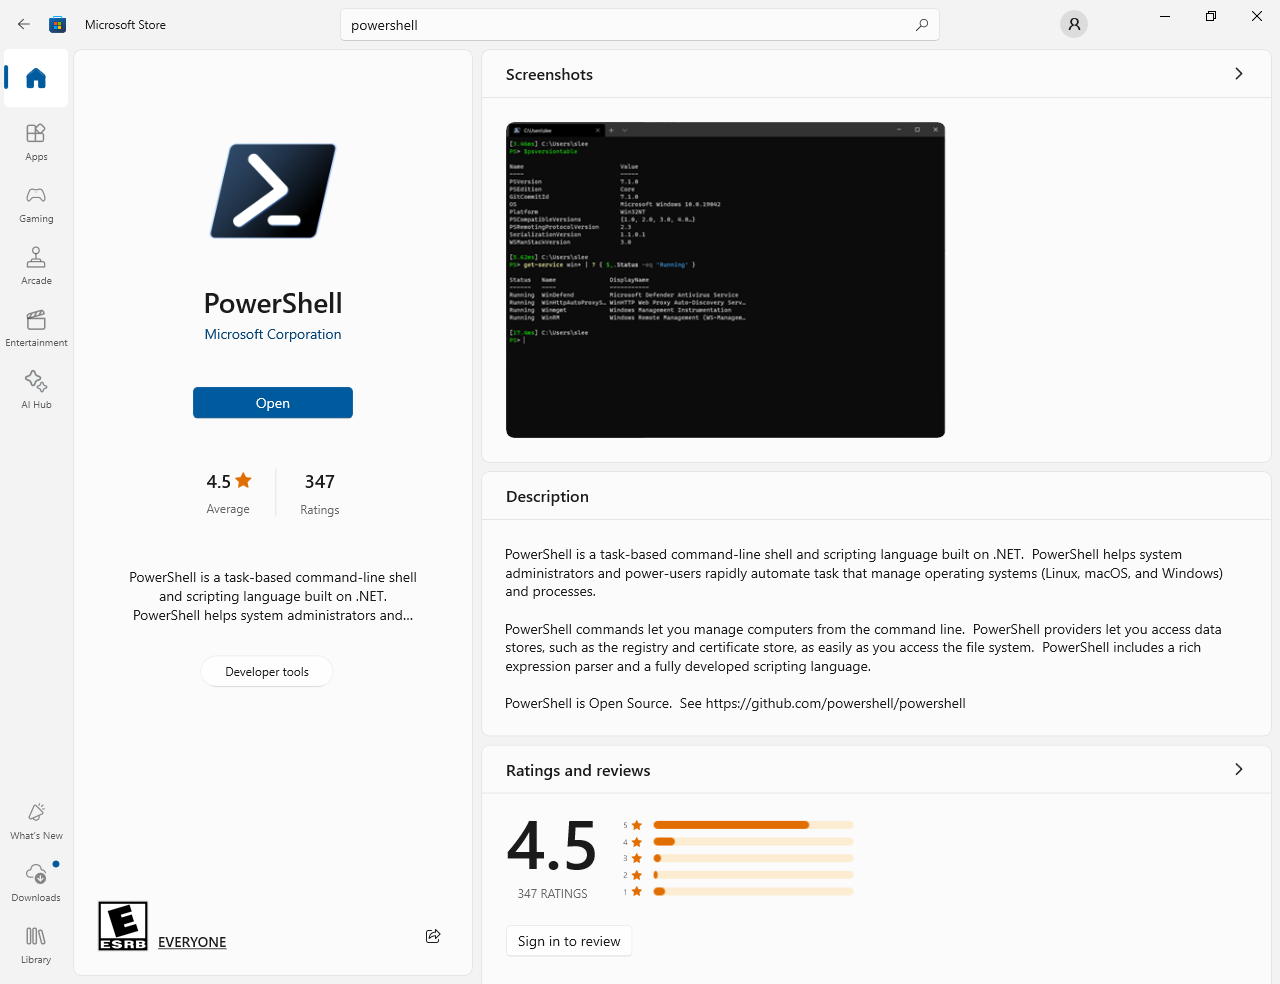 The easiest way to download and run the latest PowerShell is using the Microsoft Store.
- Open the Microsoft Store.
- Search for PowerShell.
- Download and install the PowerShell app.
- Run PowerShell 7 (x64).
Installing the PNP module
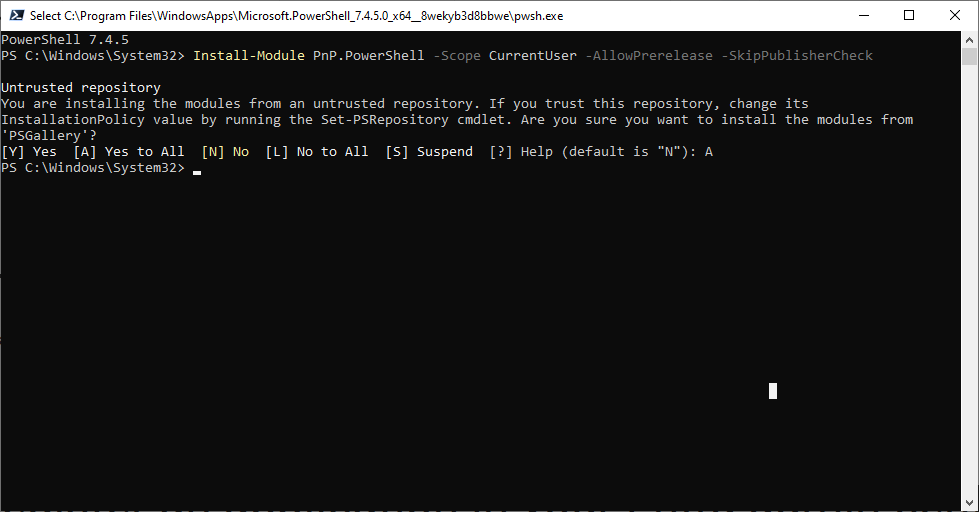 Installing the PMP module is fairly straightforward you will need the nightly build though.
- In PowerShell 7 (x64) run the following code:
Install-Module PnP.PowerShell -Scope CurrentUser -AllowPrerelease -SkipPublisherCheck - When prompted type A and press Enter.
Register an application in your Entra admin center.
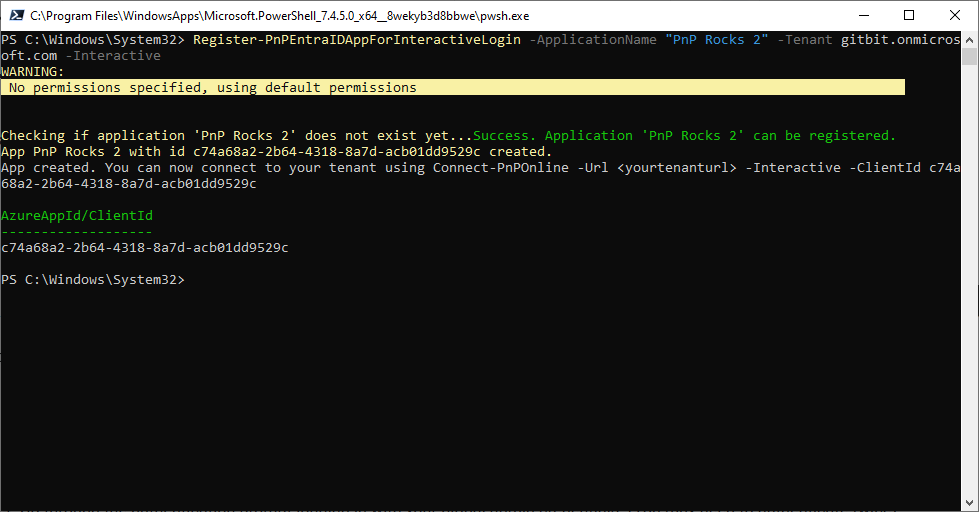 Before you can register the application, you must have your tenant ID.
- Open Microsoft 365 Admin Center > Settings > Domains.
- Copy the domain name that ends in onmicrosoft.com.
- Run the following in your PowerShell 7 window (don’t forget to replace the [tenantId] with your tenant):
Register-PnPEntraIDAppForInteractiveLogin -ApplicationName "PnP Rocks" -Tenant [tenantId].onmicrosoft.com -Interactive - Go through the authentication prompt logging in with your global admin credentials. (You may need to authenticate twice)
- On the "Permissions requested" page click Accept.
- Copy the Client ID that was returned.
Connect to SharePoint Online
![Connecting to SharePoint Online using the PnP module command: Connect-PnPOnline [tenantId].sharepoint.com -Interactive -ClientId [clientId]](/assets/imgs/ms-500/connect-pnponline-wnfe3ph5.png) Now we're going to create the initial connection.
Now we're going to create the initial connection.
- Run the following in PowerShell 7 (x64) (replace [tenantId] with your tenant Id that you got in step 2 of Register and [clientId] with your clientId that you got in step 5 of register:
Connect-PnPOnline [tenantId].sharepoint.com -Interactive -ClientId [clientId] - Run through the authentication.
Get all SharePoint Online sites and subsites
Finally, we are ready to get all the SharePoint Online sites and subsites.
- Run the following to get the list of sites:
$AccessToken = Get-PnPAccessToken
$AllSites = Get-PnPTenantSite
foreach ($Site in $siteCollections) {
Connect-PnPOnline -Url $Site.Url -AccessToken $AccessToken
$SubWebs = Get-PnPSubWeb -Recurse
$AllSites += $SubWebs
}
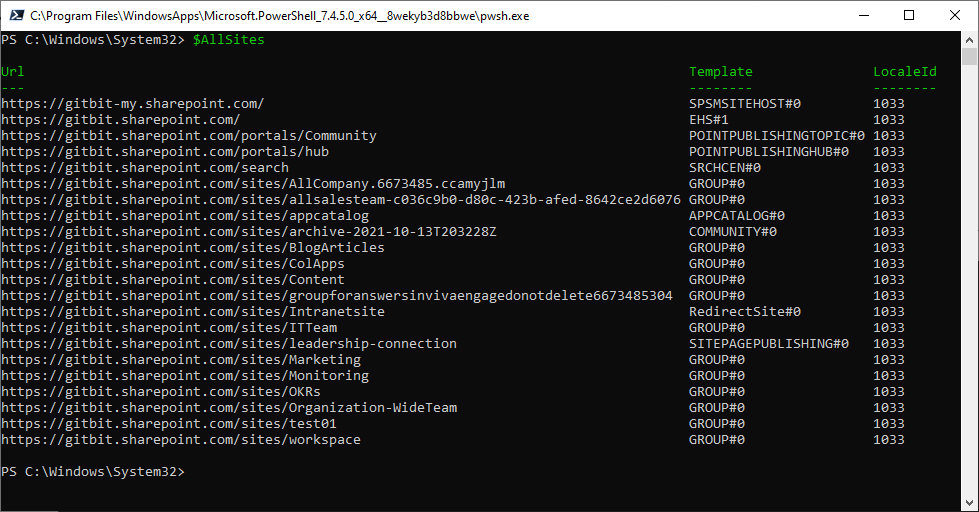
$allSites
Now you have all your sites in the $allSites variable. You can view it by simply running $allSites or you can export is to CSV using $allSites | export-csv SharePointSites.csv -noTypeInformation
Introduction to SharePoint Site Collections and Subsites
While nuanced to users and even inexperienced SharePoint admins there is a big difference between SharePoint Site Collections and subsites. They each serve a distinct purpose in organizing and managing content within your SharePoint environment. If you’re a smaller organization, you may want to disable creating subsites to keep your organization more flat. As your organization grows, the subsites will help manage the environment in a cleaner, more admin-friendly way.
A SharePoint Online site collection is a top-level container in SharePoint that can hold related sites inside it. A site collection can also be used like a standard SharePoint site.
Having multiple site collections is great for isolation, scalability and customization. You can create a site collection for your company. Then create one for accounting and another for your IT team etc.
Subsites are sites that exist within a site collection. They inherit permissions and navigation from their parent. But can also have unique settings. They can be used to organize content. Making it easier to manage and navigate. Sub sites can inherit permissions from their parent site to simplify management. Subsites are also flexible and can be customized with different templates. For example. You might have an IT site collection. Then have an IT security subsite and have an IT support subsite. Or you can create a site collection for all of your teams open projects and create a subsite for each project. The possibilities are endless. Well, not endless. You only have site collections and subsites. But you get it.
Security Considerations
If you know anything about cybersecurity and cloud, you probably have concerns about security with your new PNP application in your Microsoft 365 environment. But have no Fear GitBit is here! We can easily go in and delete the new application. Just know you'll need to reregister for an application if you want to use PNP in the future. Deleting the application will essentially plug the new “hole” in your Microsoft 365 environment.
- Open Microsoft Entra admin center > Applications > App registrations.
- Click All applications. Search for PnP Rocks and click on it.
- Click Delete > Delete
